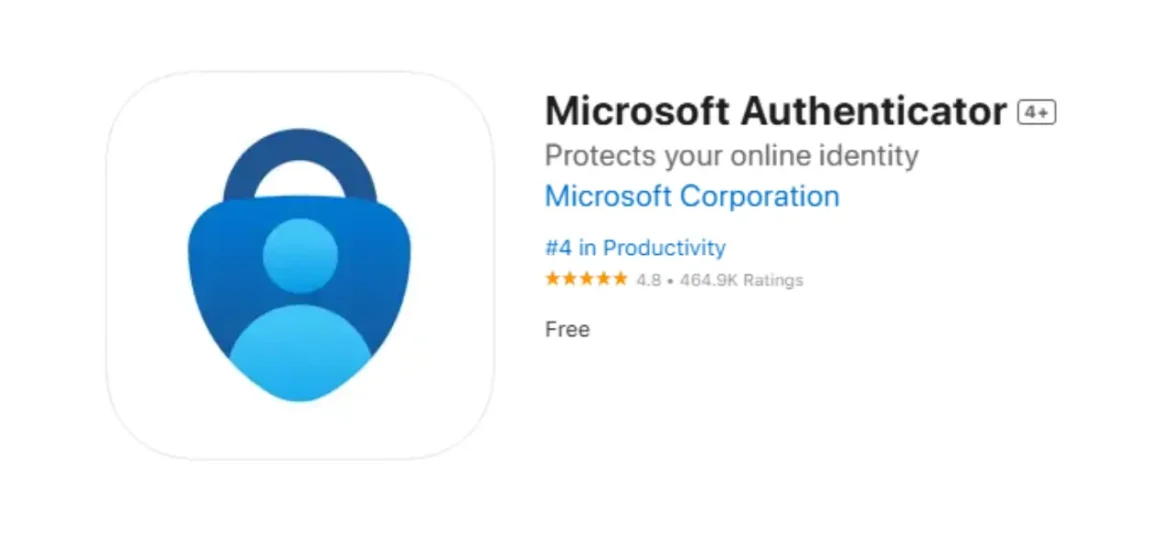
How to install and configure Microsoft Authenticator App for Facebook or Gmail:
Here’s a step-by-step guide to download the Microsoft Authenticator app on your iPhone and configure it for your Facebook account:
Step 1: Download Microsoft Authenticator
- Open the App Store on your iPhone.
- In the search bar, type “Microsoft Authenticator” and press Search.
- Locate the app, tap the Download icon (cloud with a down arrow), and wait for it to install.
- Once installed, tap Open to launch the app.
Step 2: Set Up Microsoft Authenticator
- Open the Microsoft Authenticator app.
- Tap “Add Account” (usually a plus sign or an option to add accounts).
- Choose “Other Account” when prompted to select the account type.
Step 3: Configure Microsoft Authenticator for Facebook
- Open the Facebook app or go to the Facebook website on a browser.
- Navigate to Settings & Privacy > Settings > Security and Login.
- Scroll to the Two-Factor Authentication section and tap Edit.
- Select Authentication App as the two-factor authentication method.
- Facebook will display a QR code or provide a setup key.
- In the Microsoft Authenticator app, tap Scan a QR Code if Facebook shows a QR code.
- Alternatively, select Enter Code Manually and type the setup key provided by Facebook.
- Once added, the app will display a 6-digit code for Facebook.
Step 4: Complete the Setup
- Return to the Facebook two-factor authentication setup page.
- Enter the 6-digit code generated by the Microsoft Authenticator app into Facebook.
- Tap Confirm to complete the configuration.
Step 5: Test and Verify
- Log out of Facebook and try logging back in.
- After entering your password, Facebook will prompt you for the 6-digit code.
- Open the Microsoft Authenticator app and use the code displayed for Facebook.
Now your Facebook account is protected with two-factor authentication using Microsoft Authenticator.
ধাপ ১: Microsoft Authenticator অ্যাপ ডাউনলোড করুন
- আপনার আইফোনে App Store খুলুন।
- সার্চ বারে “Microsoft Authenticator” লিখুন এবং Search চাপুন।
- অ্যাপটি খুঁজে বের করুন, ডাউনলোড আইকন (মেঘের সাথে নিচের দিকে তীর চিহ্ন) চাপুন এবং এটি ইনস্টল হওয়ার জন্য অপেক্ষা করুন।
- ইনস্টল হলে, Open চাপুন অ্যাপটি চালু করার জন্য।
ধাপ ২: Microsoft Authenticator সেট আপ করুন
- Microsoft Authenticator অ্যাপটি খুলুন।
- “Add Account” (সাধারণত একটি প্লাস চিহ্ন বা অ্যাকাউন্ট যোগ করার অপশন) চাপুন।
- অ্যাকাউন্টের ধরন নির্বাচন করার সময় “Other Account” নির্বাচন করুন।
ধাপ ৩: Facebook এর জন্য Microsoft Authenticator কনফিগার করুন
- আপনার Facebook অ্যাপ খুলুন বা একটি ব্রাউজারে Facebook ওয়েবসাইট এ যান।
- Settings & Privacy > Settings > Security and Login এ যান।
- Two-Factor Authentication সেকশনে স্ক্রল করুন এবং Edit চাপুন।
- Authentication App সিলেক্ট করুন দুই ধাপের ভেরিফিকেশন মেথড হিসেবে।
- Facebook একটি QR কোড দেখাবে অথবা একটি Setup Key দেবে।
- যদি Facebook একটি QR কোড দেখায়, তাহলে Microsoft Authenticator অ্যাপে Scan a QR Code চাপুন।
- অন্যথায়, Enter Code Manually নির্বাচন করুন এবং Facebook থেকে প্রাপ্ত সেটআপ কীটি টাইপ করুন।
- অ্যাকাউন্ট যোগ হওয়ার পর, অ্যাপটি Facebook এর জন্য একটি ৬-সংখ্যার কোড দেখাবে।
ধাপ ৪: সেটআপ সম্পন্ন করুন
- Facebook এর দুই ধাপের ভেরিফিকেশন সেটআপ পেজে ফিরে যান।
- Microsoft Authenticator অ্যাপে তৈরি করা ৬-সংখ্যার কোডটি Facebook এ দিন।
- Confirm চাপুন সেটআপ সম্পন্ন করতে।
ধাপ ৫: পরীক্ষা করুন এবং নিশ্চিত করুন
- Facebook থেকে লগ আউট করুন এবং পুনরায় লগ ইন করার চেষ্টা করুন।
- পাসওয়ার্ড দেওয়ার পরে, Facebook আপনাকে ৬-সংখ্যার কোডের জন্য অনুরোধ করবে।
- Microsoft Authenticator অ্যাপ খুলুন এবং Facebook এর জন্য প্রদর্শিত কোডটি ব্যবহার করুন।
এখন আপনার Facebook অ্যাকাউন্ট Microsoft Authenticator দিয়ে সুরক্ষিত।


