How to install and configure Microsoft Authenticator App for Facebook or Gmail:
Here’s how to download the Microsoft Authenticator app on your Android phone and configure it for a Facebook account:
Step 1: Download the Microsoft Authenticator App
- Open the Google Play Store on your Android device.
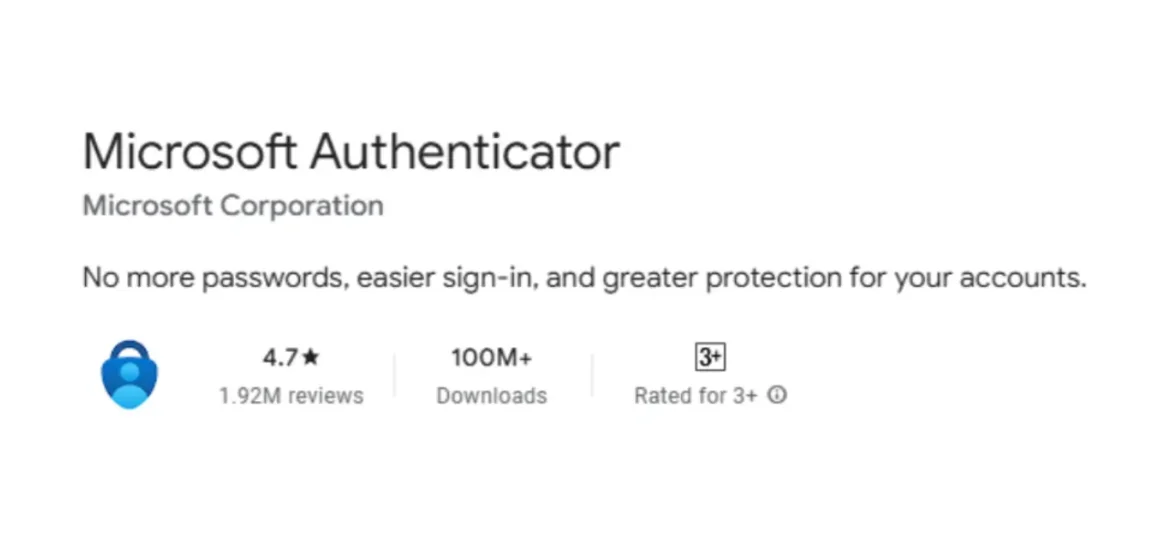
- Search for “Microsoft Authenticator.”
- Tap on the app in the search results (published by Microsoft Corporation).
- Tap “Install” and wait for the app to download and install.
Step 2: Set Up Microsoft Authenticator for Facebook
- Log in to your Facebook account on a web browser or the Facebook app.
- Go to Settings:
- In the app, tap the menu icon (three horizontal lines) and go to Settings & Privacy > Settings.
- On a browser, click on your profile picture > Settings & privacy > Settings.
- Navigate to Security and Login:
- Under Account Settings, select Security and login.
- Enable Two-Factor Authentication (2FA):
- Scroll down to Two-Factor Authentication and click Edit next to it.
- Choose Use an Authentication App as your security method.
- Generate a QR Code:
- Facebook will display a QR code for the authenticator app. Keep this screen open.
- Open Microsoft Authenticator:
- Launch the app and tap the “+” (add account) icon.
- Select Other account (Google, Facebook, etc.).
- Scan the QR code displayed by Facebook.
- Confirm Setup:
- After scanning, the app will generate a 6-digit verification code for Facebook.
- Return to the Facebook 2FA setup screen and enter the code from Microsoft Authenticator.
- Save Changes:
- Once verified, Facebook will confirm that 2FA is enabled.
Step 3: Test the Configuration
- Log out of your Facebook account.
- Log back in using your email/phone and password.
- Enter the 6-digit code generated by the Microsoft Authenticator app when prompted.
You’re all set! You’ve successfully configured Microsoft Authenticator for Facebook.
Android ফোনে Microsoft Authenticator অ্যাপ ডাউনলোড এবং Facebook অ্যাকাউন্টের জন্য সেটআপ করার পদ্ধতি
ধাপ ১: Microsoft Authenticator অ্যাপ ডাউনলোড করুন
- আপনার Android ডিভাইসে Google Play Store খুলুন।
- “Microsoft Authenticator” খুঁজুন।
- Microsoft Corporation দ্বারা প্রকাশিত অ্যাপটি খুঁজে নিন।
- “Install” বাটনে চাপ দিন এবং অ্যাপটি ডাউনলোড এবং ইনস্টল হতে দিন।
ধাপ ২: Facebook-এর জন্য Microsoft Authenticator সেটআপ করুন
- একটি ওয়েব ব্রাউজার বা Facebook অ্যাপে আপনার Facebook অ্যাকাউন্টে লগ ইন করুন।
- Settings-এ যান:
- অ্যাপে, মেনু আইকনে (তিনটি অনুভূমিক লাইন) চাপুন এবং Settings & Privacy > Settings-এ যান।
- ব্রাউজারে, আপনার প্রোফাইল ছবিতে ক্লিক করুন > Settings & Privacy > Settings।
- Security and Login নির্বাচন করুন:
- Account Settings-এর অধীনে Security and login-এ যান।
- Two-Factor Authentication (2FA) সক্রিয় করুন:
- Two-Factor Authentication-এর কাছে Edit-এ ক্লিক করুন।
- নিরাপত্তা পদ্ধতি হিসেবে Use an Authentication App নির্বাচন করুন।
- QR কোড তৈরি করুন:
- Facebook একটি QR কোড দেখাবে। এই স্ক্রিনটি খোলা রাখুন।
- Microsoft Authenticator খুলুন:
- অ্যাপটি চালু করুন এবং “+” (অ্যাকাউন্ট যোগ করার) আইকনে চাপুন।
- Other account (Google, Facebook, etc.) নির্বাচন করুন।
- Facebook দ্বারা প্রদত্ত QR কোড স্ক্যান করুন।
- সেটআপ নিশ্চিত করুন:
- স্ক্যান করার পরে, অ্যাপটি Facebook-এর জন্য একটি ৬-সংখ্যার কোড তৈরি করবে।
- Facebook-এর 2FA সেটআপ স্ক্রিনে ফিরে যান এবং Microsoft Authenticator থেকে কোডটি প্রবেশ করান।
- পরিবর্তন সেভ করুন:
- একবার যাচাই করা হলে, Facebook নিশ্চিত করবে যে 2FA সক্রিয় হয়েছে।
ধাপ ৩: কনফিগারেশন পরীক্ষা করুন
- আপনার Facebook অ্যাকাউন্ট থেকে লগ আউট করুন।
- আপনার ইমেইল/ফোন এবং পাসওয়ার্ড দিয়ে পুনরায় লগ ইন করুন।
- যখন অনুরোধ করা হবে, তখন Microsoft Authenticator অ্যাপ দ্বারা তৈরি ৬-সংখ্যার কোড প্রবেশ করান।
আপনার কাজ সম্পন্ন! আপনি সফলভাবে Microsoft Authenticator Facebook-এর জন্য কনফিগার করেছেন।


